The other month at Barnes & Noble Books, I discovered the UK's
Advanced Photoshop Magazine. It has amazing tutorials. I was hooked. Looking through these pages I was inspired. The whole creative process is intriguing. The behind the scenes bit, the effort that goes on behind the door, stage or screen, design, photo, painting, etc. Those mysterious steps that lead to the elusive magical, amazing or just plain wow moments.
I really have been wanting and needing to raise my game and decided to give challenging looking tutorials a go, come what may. This was my first attempt and the steps I took to complete it. Be most happy to answer any questions but if you are seeking a straight tutorial, you will have to get November's AP 87, the latest print issue and following along. The downloadable tutorial for this project isn't quite online yet. In the future, I will to try and choose projects that are.
This was a lot of fun, like when trying to cook and actually follow the recipe, once I got started I started adding a few of my own ingredients and hoped for the the best.
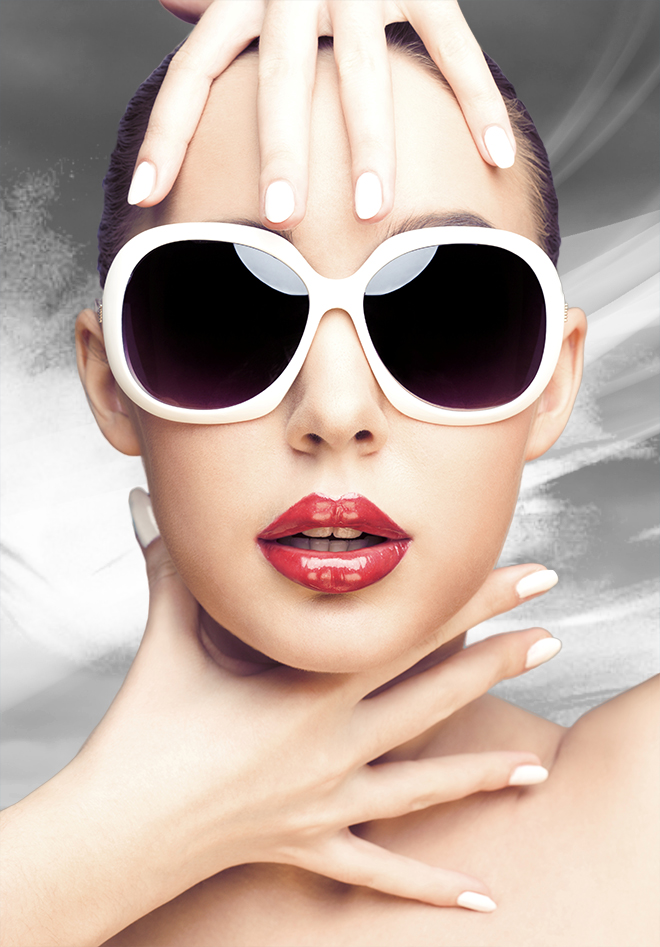
The start was a model (courtesy of iStockPhoto.com) and the first step was to remove the background forever more to be known as BG via the PEN TOOL and LAYER MASK and touch up the water with the CLONE tool.
I originally thought to keep her right forearm and hand (deviation numero uno) but as you will see later I ditched the idea.
Next called for a few ADJUSTMENT LAYERS (color balance, hue/saturation, vibrance and exposure) It was really cool seeing how the ALs worked together and the variations created by the order in which they are stacked.
Then inserting a new BG texture from a site I never heard of and glad I did.
STOCK.XCHNG Highly recommended for free stock files and much appreciated for the completion of little Pygmalion here.
Working in the LAYER MASK of the model we begin to blend her in with the BRUSH TOOL and tweaking the over all color with the ADJUSTMENT LAYERS and playing with opacities.
First try at creating depth by creating shadows...here's where it stated getting kooky, fun but KOOKY and at the same time felt like I was breaking new ground for me, so exciting too.
Now for for some serious retouching, never tried to to such an extent. The tute included a file of a statue bust to replace the bikini top. Then cloned out the bottom remaining strap. I think this stage was very pretty.
Getting close to a finish, I added a second texture for more realism and a carved from rock feel takes form.
One last texture and assorted noodlings... still very ethereal and decided to go for more contrast for the final
On an end note, I worked in Photoshop CS4 and pretty happy with the results here, definitely learned a thing or two, please let me know if you have any specific questions, I will try and be more detailed next time around. Hope you enjoyed this. Look forward to your comments. :)


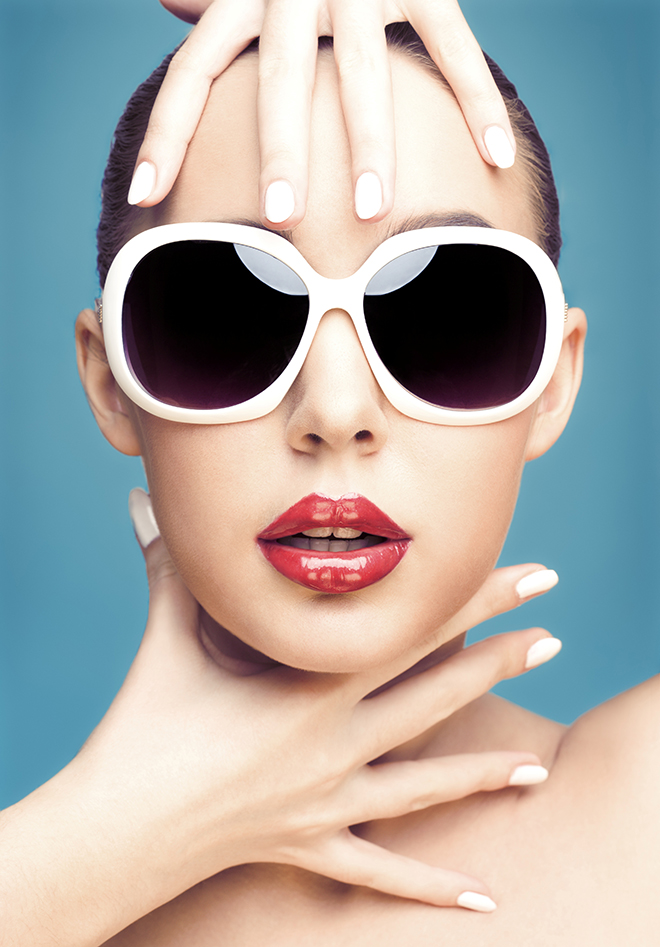 STEP 1: Using the Magic Wand tool I quickly blocked out a layer mask. After, I tweaked it with "Refine Edge" and a small round brush (on the mask layer).